
It has been two winter seasons since the greenhouse/potting
shed has been completed and I thought I would share some of things I’ve learned. As always, I look forward to others ideas as well.
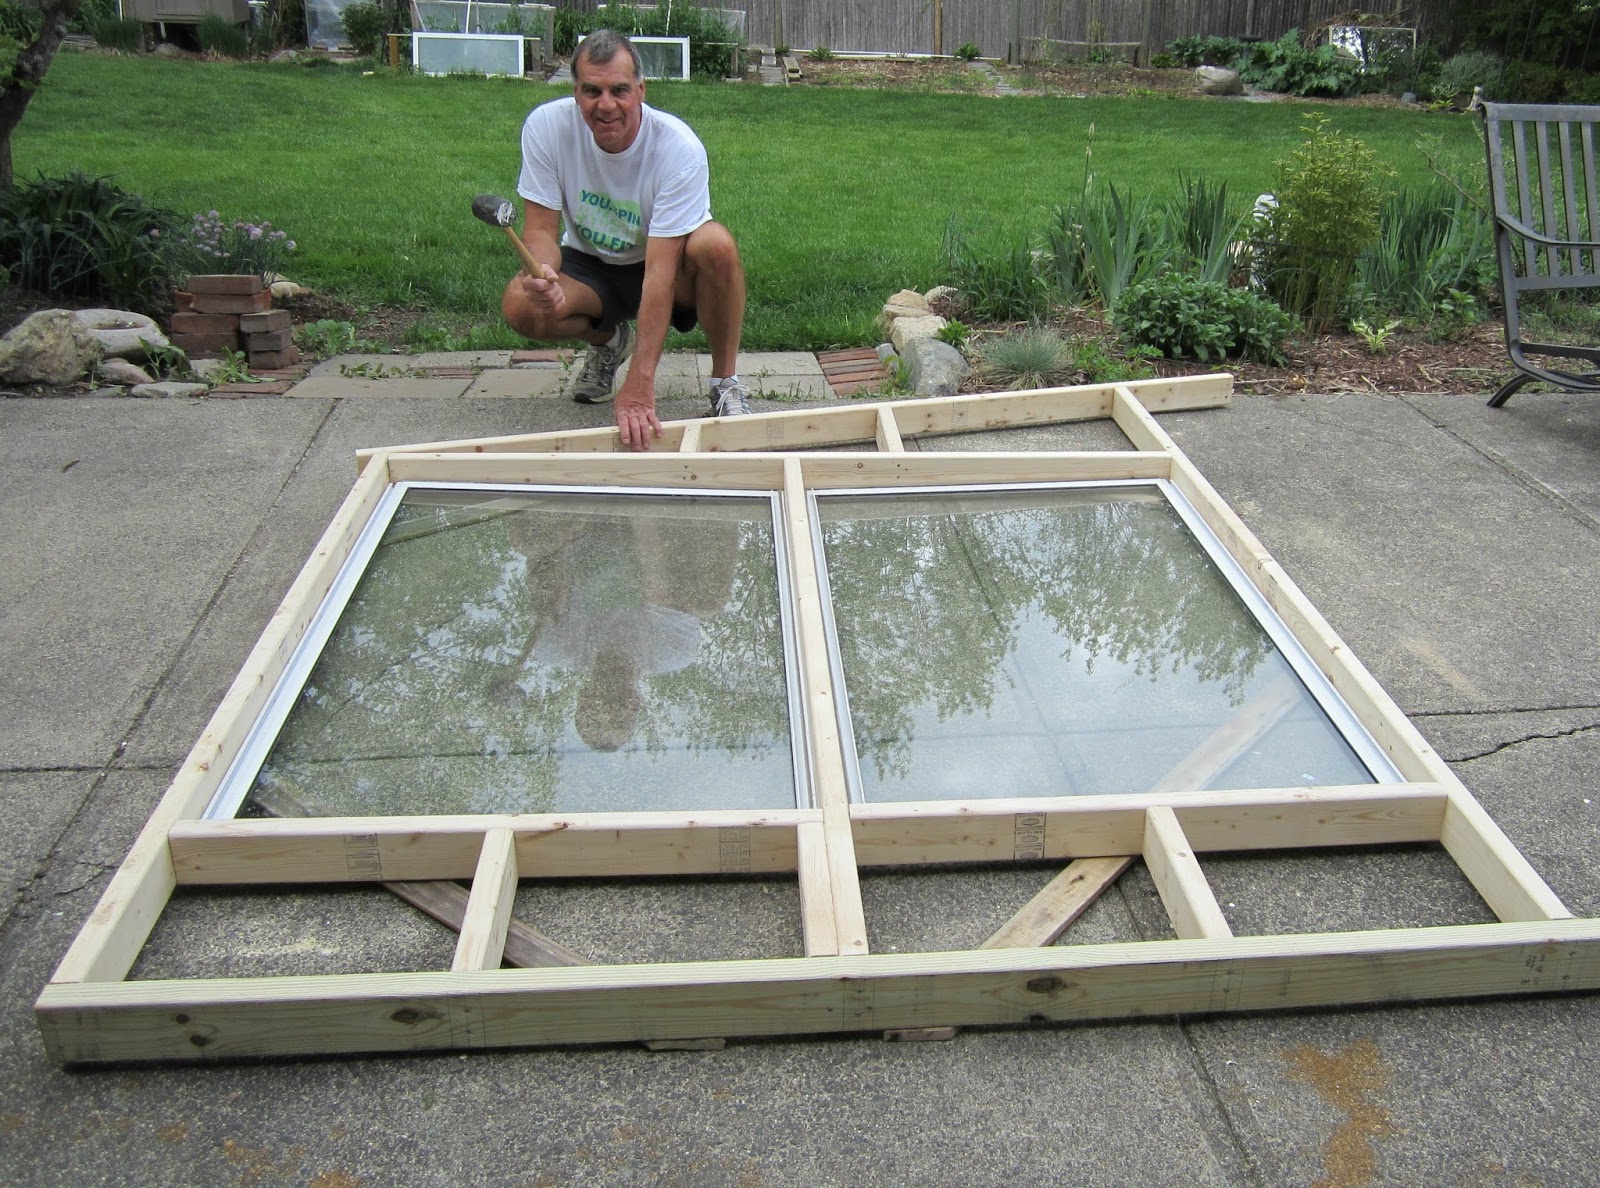 My husband had wanted to buy a greenhouse kit and assemble
it for me years ago but I had always declined.
I didn’t want to waste space in my garden with a greenhouse, and I can't
bear how oppressively hot greenhouses become in the summer. But as I got more involved with winter
gardening, I thought it was time to reconsider.
I wanted a greenhouse that was a combination potting shed and
greenhouse. I also wanted to remove the
front windows during the summer and be able to plant directly in the greenhouse.
You can see the beginning phase of the greenhouse on this blog “Recycling –
Potting Station” page.
My husband had wanted to buy a greenhouse kit and assemble
it for me years ago but I had always declined.
I didn’t want to waste space in my garden with a greenhouse, and I can't
bear how oppressively hot greenhouses become in the summer. But as I got more involved with winter
gardening, I thought it was time to reconsider.
I wanted a greenhouse that was a combination potting shed and
greenhouse. I also wanted to remove the
front windows during the summer and be able to plant directly in the greenhouse.
You can see the beginning phase of the greenhouse on this blog “Recycling –
Potting Station” page. I enjoy using recycled items and turning them into something sensational. I had found an appealing greenhouse idea on Pinterest which I used as my inspiration. My challenge was to try to build the greenhouse for under $250. Yes, I was delusional. I was able to get the windows at the ReStore for $5 a piece, and I did have some leftover wood from our renovation, but we had to buy considerably more than I expected. I stopped using the costs spreadsheet when I hit $750. At the end it probably costs just under $1000. Just be prepared to spend more than you originally thought, but it’s worth every penny.

The first winter we had used the greenhouse, we had record
snowfall here in the Northeast. On two separate
occasions, we had full week of no sun, which didn’t allow the greenhouse to warm
up during the day. I did make three terra-cotta space heaters which did increase the temperature in the greenhouse by a few degrees, but the candles last approximately four hours, so unless you get up in the middle of the night or get an electric heater, I wouldn’t expect the plants to survive. Obviously, nothing is going to survive in those frigid temperatures.
 |
| Terra-cotta Space Heater |
Not only will you love your greenhouse, so will the little
critters. And not only will they love
living in the greenhouse, they will love munching on the plants. They ended up eating everything in the greenhouse. I had better luck with the cloches which they did not touch. But, you have to admit they are cute. I plan to make some wire cover-cages and see how that works out next winter.
 The bottom line is, and as much as I hate to admit it, I should have listened to my husband and let him build me a greenhouse long ago. It's my favorite play space. I'm in it every day.


